Building a Paper Sundial
Learn how to build an accurate sundial using common materials like paper and adhesive tape.


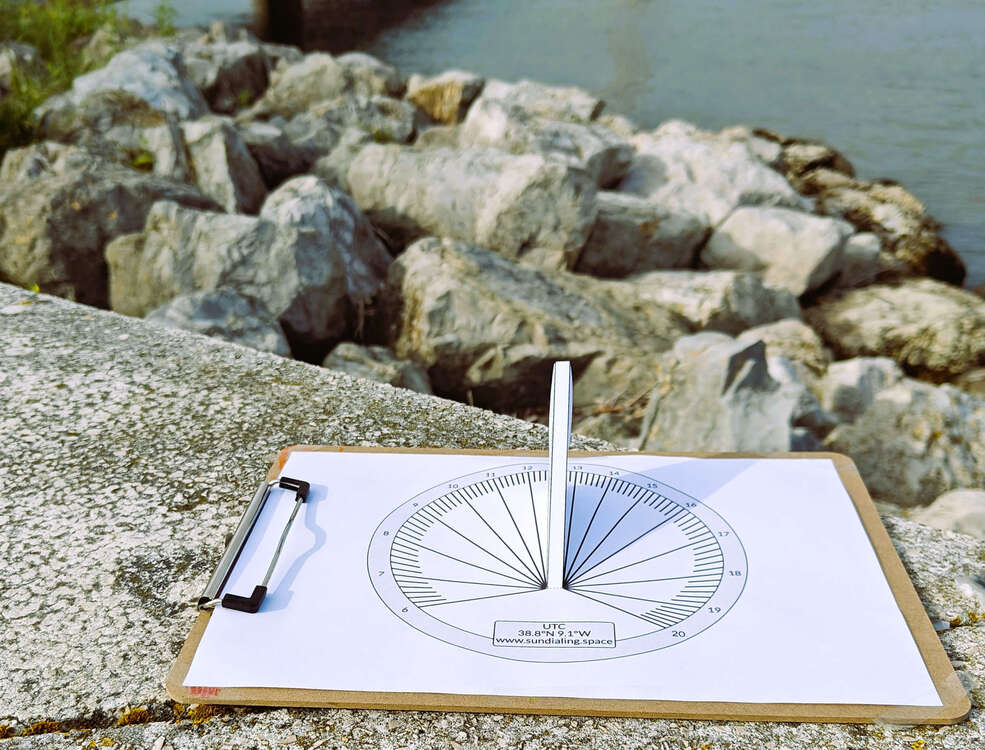
Time Sundial Instructions

Step 1 - Print
Use the sundial builder to print the sundial.
For increased durability, print the sundial on card stock or glue it to a piece of cardboard.
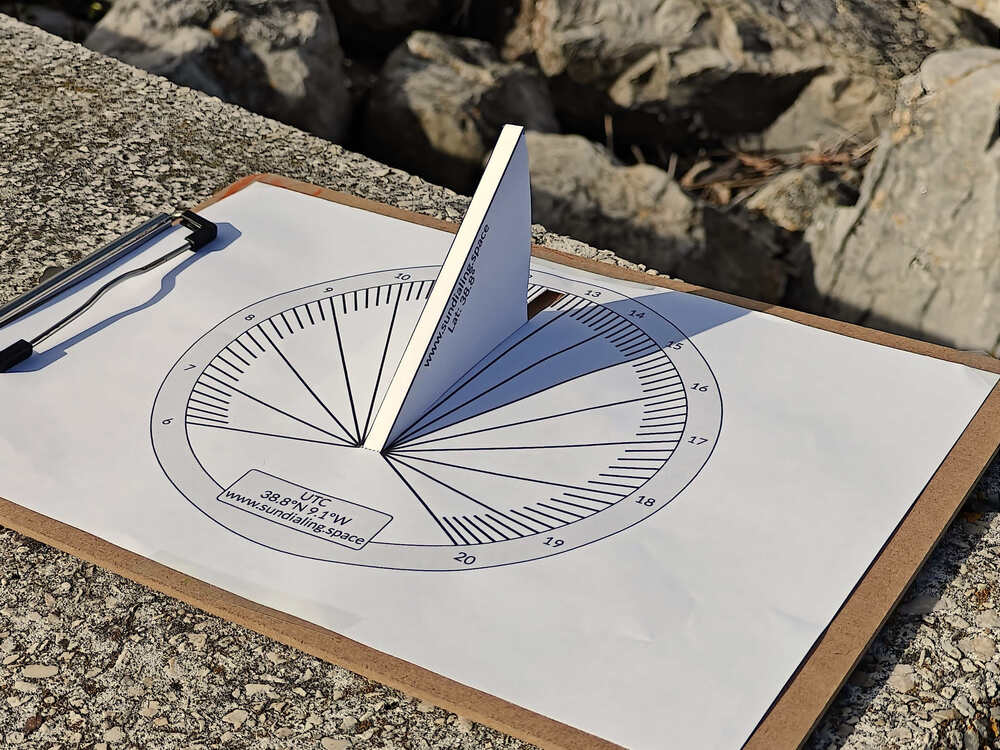
Step 2 - Sundial Base
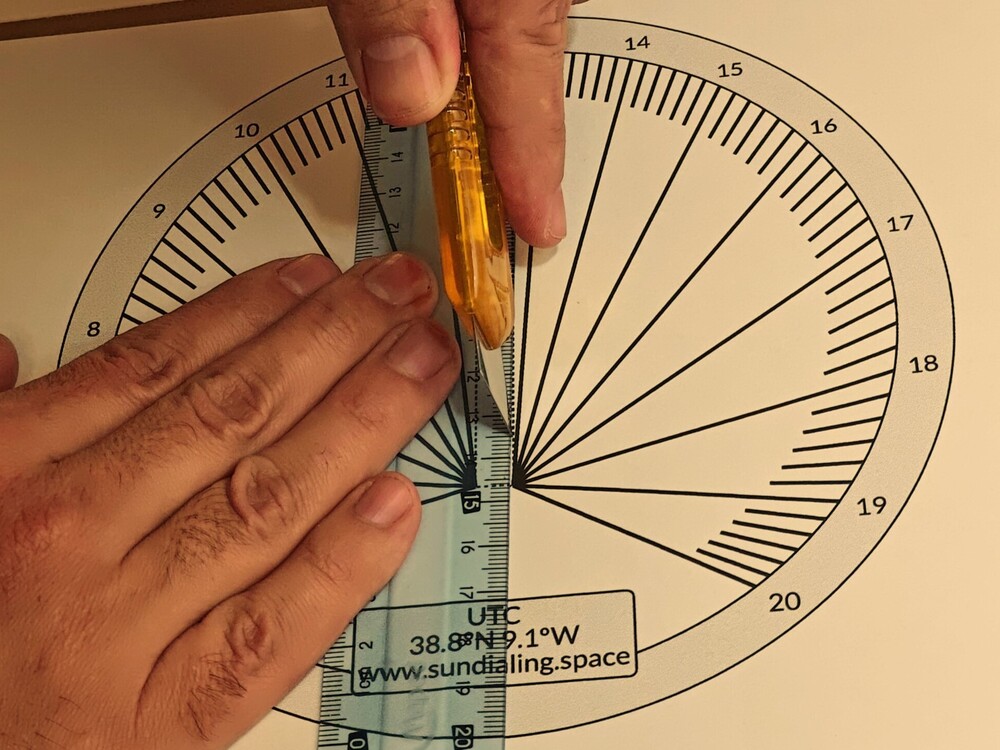
In the sundial base, cut the gnomon slot along the dashed line.
Step 3 - Gnomon
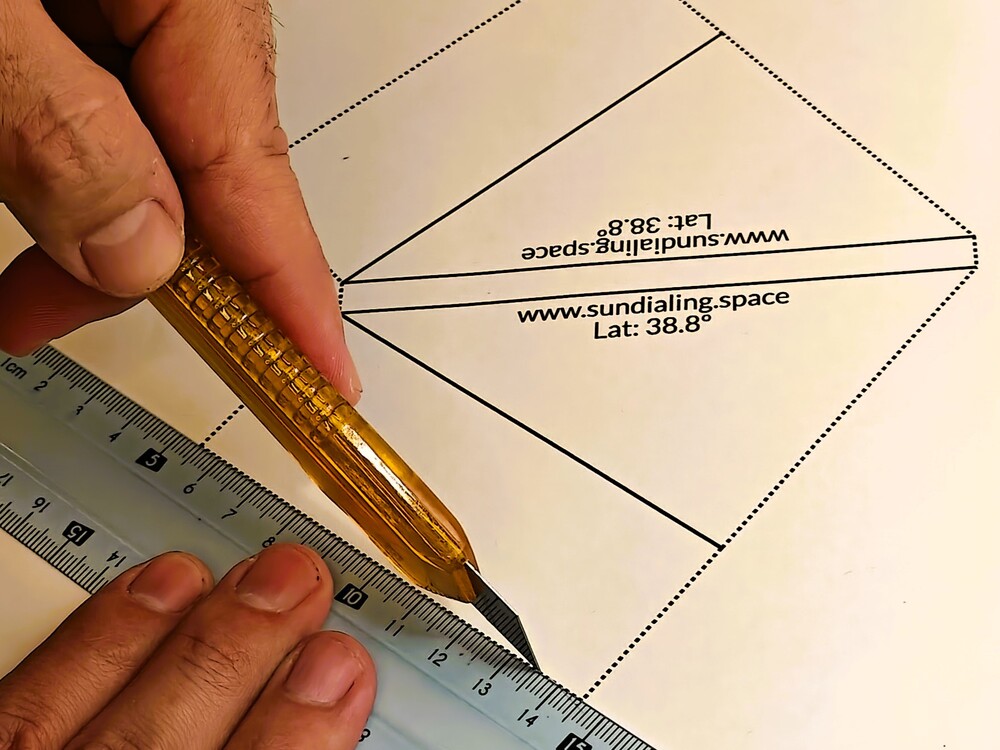
Cut the gnomon along the dashed line.
Step 4 - Fold Gnomon
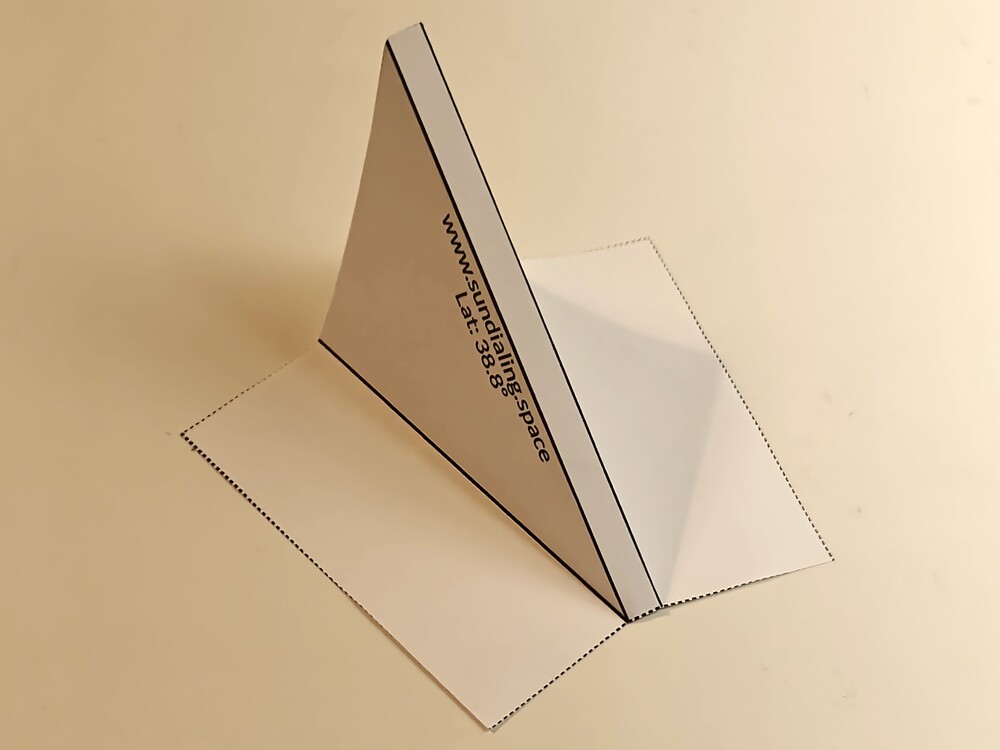
Fold the gnomon along the solid lines.
Step 5 - Insert Gnomon
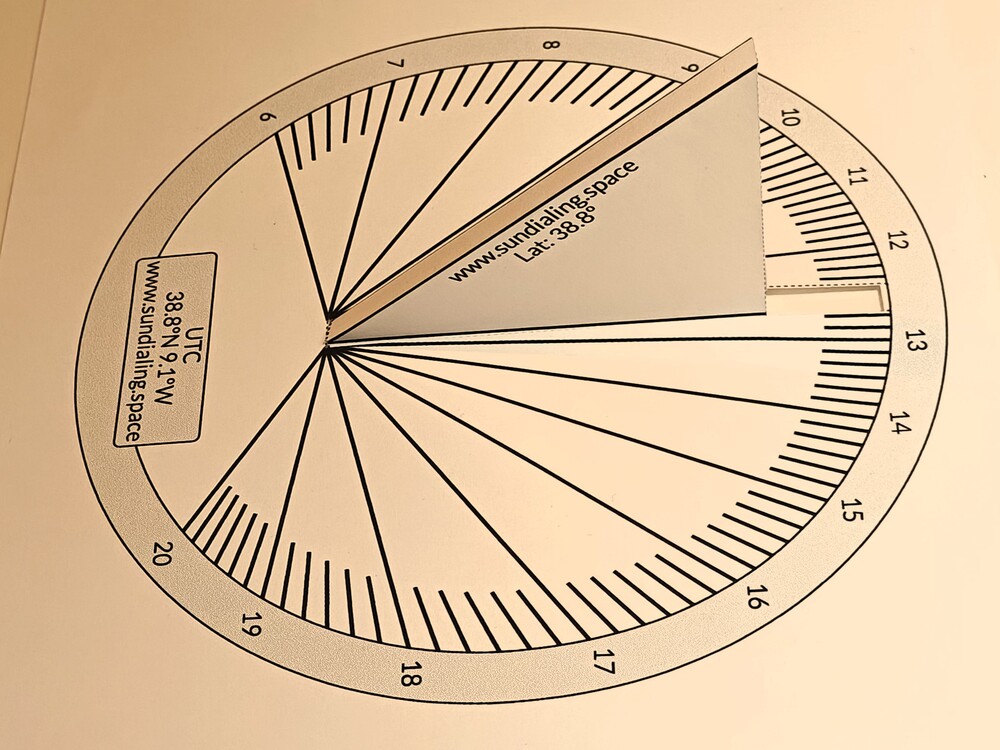
Insert the gnomon into the sundial. Use adhesive tape to secure them together.

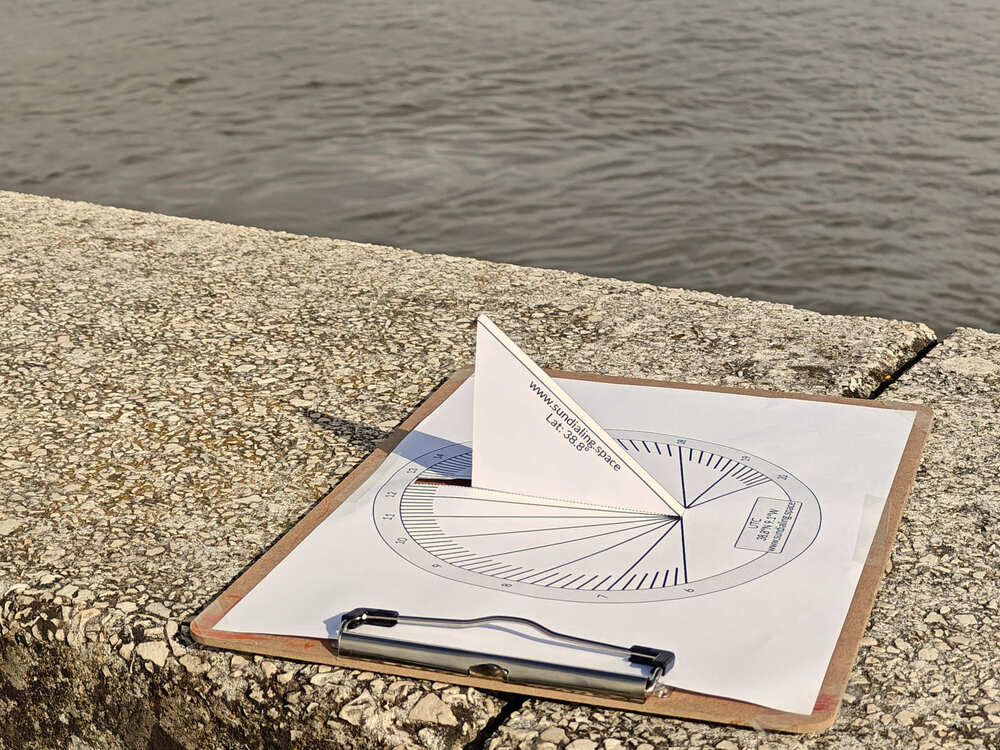
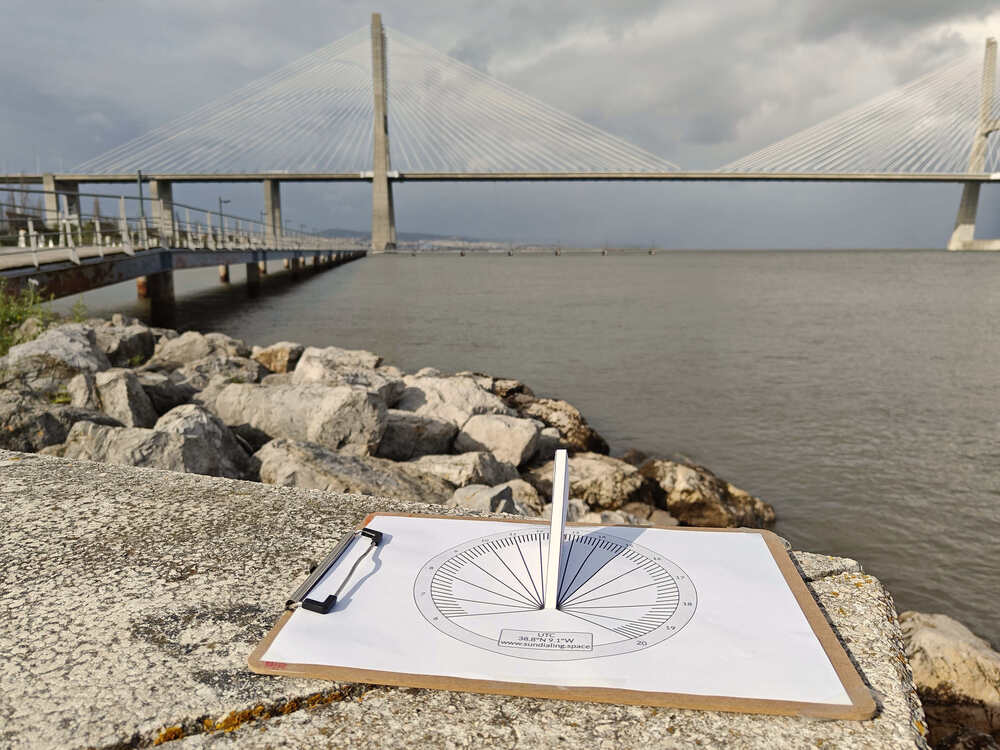
Step 6 - Flat Surface
Place the sundial outside on a flat surface.
Step 7 - Alignment
Align the sundial to the true north by rotating it until the gnomon shadow marks the correct time.
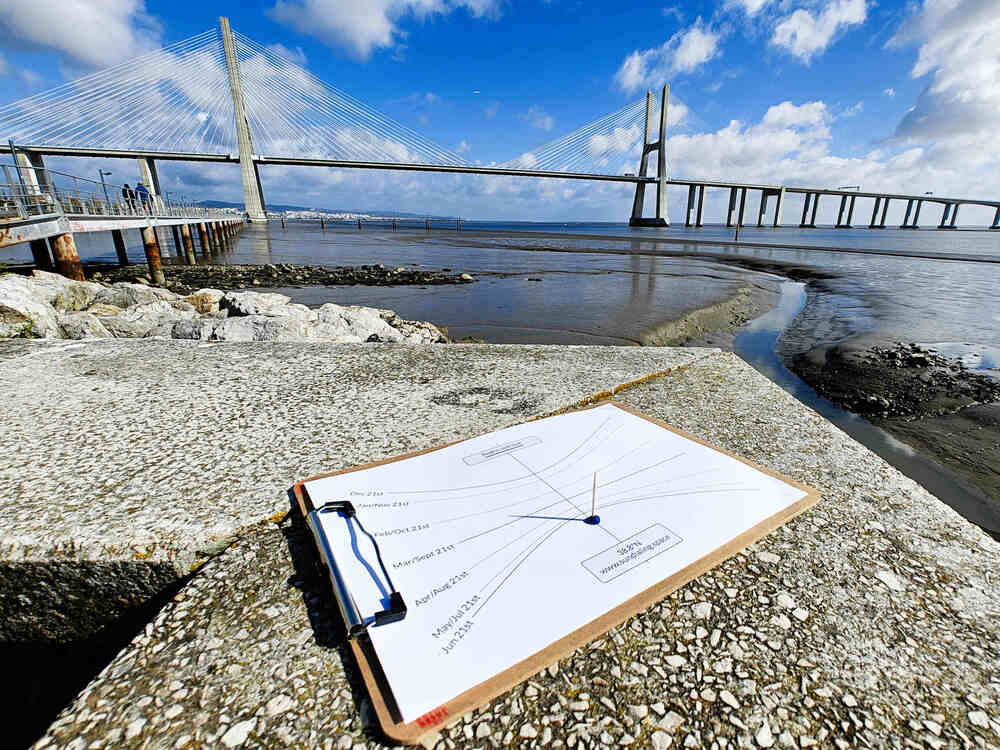
Calendar Sundial Instructions

Step 1
Use the sundial builder to print the sundial.
For increased durability, print the sundial on card stock or glue it to a piece of cardboard.

Step 2
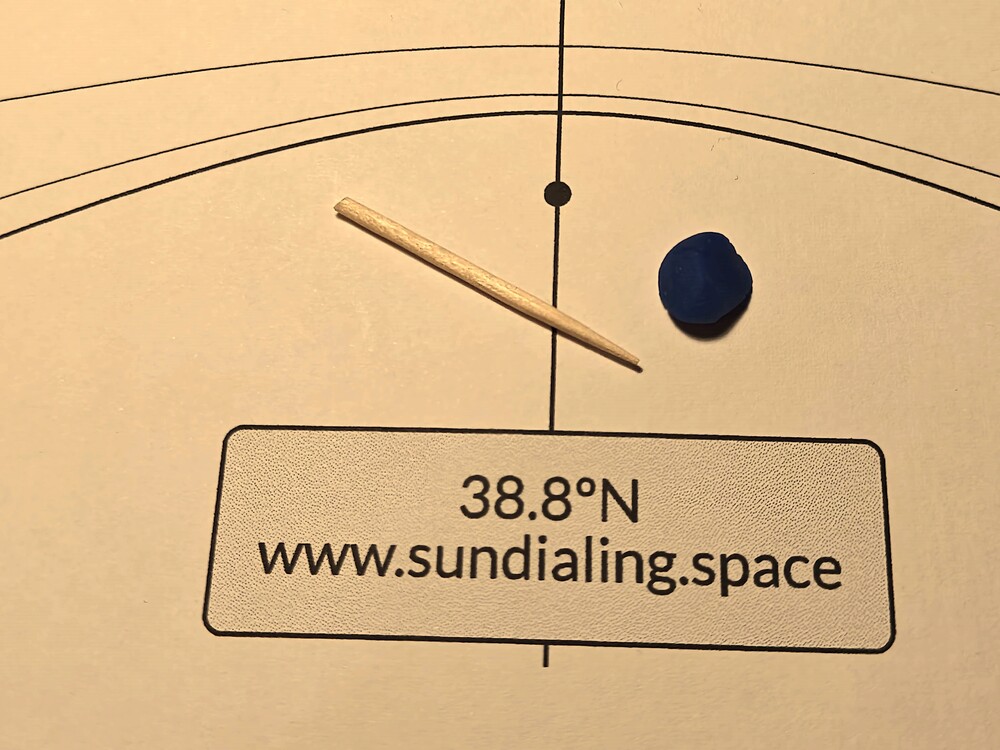
Get a toothpick, match or even a straightened paper clip, and cut it with the size indicated in Nodus size line.
Step 3
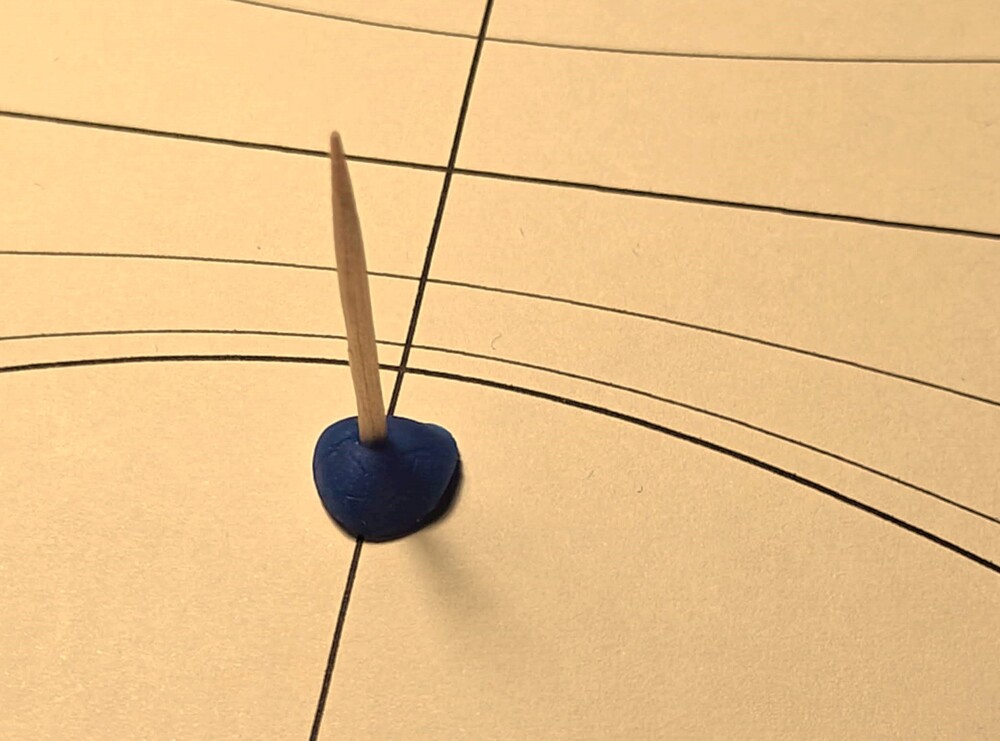
Get a small piece of plasticine to affix the nodus onto the sundial base.
Step 4
Using the plasticine affix the toothpick vertically to the sundial base.
Position it precisely on the black circle situated along the vertical line.

Step 5
Place the sundial outside on a flat surface.

Step 6
Align the sundial to the true north.
You can use a compass or a GPS app on your phone to find the true north.
Alternatively you can also use the alignment taken by the Time Sundial above.